 HockeyForm
How to shoot a quick-release wrist shot
The quick-release wrist shot is the shot that scores most goals in today's hockey. It leaves your stick before the goalie is set — so it is not about power, it is about a short pull, a fast weight shift and a clean release.
Here is the shot step by step, the mistakes almost every player makes, and two drills you can do on a shooting pad at home.
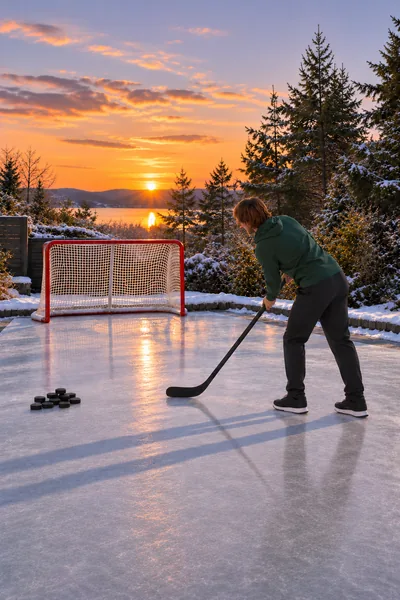
Step by step
- 1Start with the puck beside your back foot, in the middle of the blade.
- 2Keep the pull short — no big wind-up. Every centimetre gives the goalie time.
- 3Shift your weight from your back leg to your front leg as you release.
- 4Roll your wrists and finish with the blade pointing at the target.
Common mistakes
A long wind-up
The longer the pull, the more time the goalie has to set. Keep it short and let your legs and wrists make the speed.
Shooting off the front foot
If you start with your weight forward, there is nothing left to push into the shot. Start on the back leg, finish on the front.
A stiff finish
If the wrists don't roll, the puck goes wherever the blade happens to point. Roll them and point the blade at your target.
Drills for the shooting pad
Load and hold
The back leg drives the shot; a bent back knee stores the power.
- Drop into your load: weight on the back leg, back knee well bent.
- Hold it for two seconds.
- Explode through the shot from that position.
Reps: 3 × 10 shots
Quick hands
The faster it leaves your stick, the less time the goalie has.
- Line up five pucks in a row.
- Shoot them one after another as fast as you can, with a short pull.
- Rest, then go again.
Reps: 4 × 5 shots
Practise it with HockeyForm
Put your phone about 3 m out to your stick side, a little behind you, and shoot. HockeyForm counts every shot by itself, checks your shot from head to toe against the range pro shooters reach, and gives you the drill for what to work on next.
The HockeyForm Stand holds your phone in the right spot →